HomeKitchen Display System
Documentation · CoreRoute tickets to the right station, automatically.
Turns every POS order into a routed, timed kitchen ticket, replacing printed dockets.
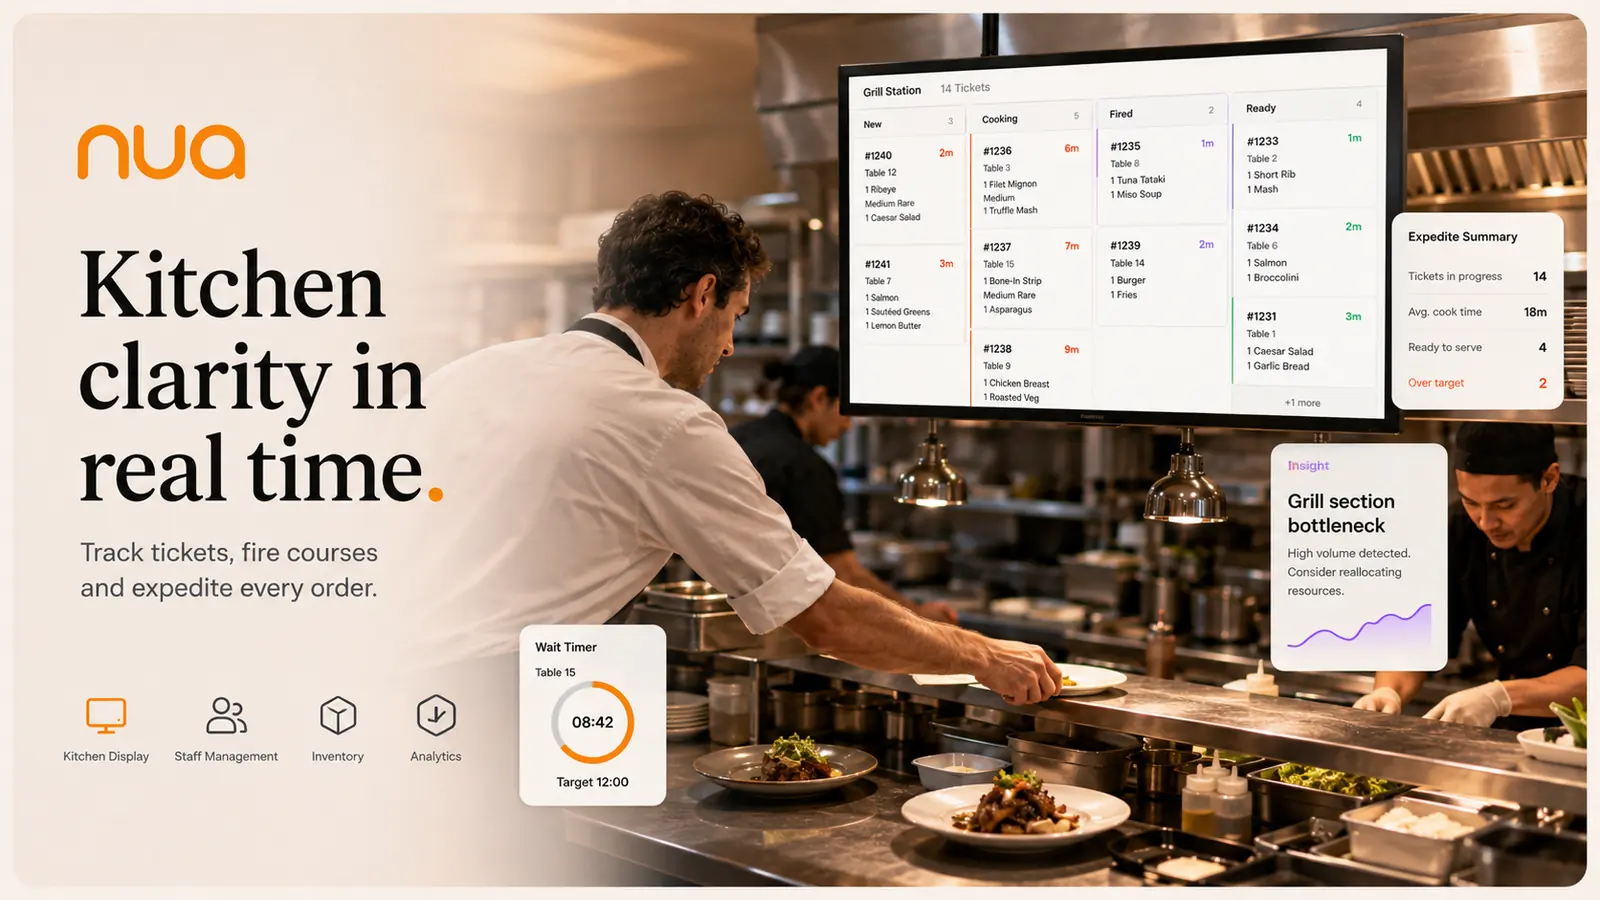
Kitchen Display System setup guide
Estimated setup time: 15–20 min
Before you start
- POS set up with a finished menu import
- A KDS-compatible screen or tablet per kitchen station
- Your kitchen's station layout (grill, pass, cold, dessert, etc.)
Setup steps
- 1
Define your stations
Under Kitchen → Stations, create one entry per physical station (e.g. Grill, Cold, Pass).
- 2
Map menu items to stations
Assign each menu item (or modifier) to the station that fires it. Multi-station items automatically split across screens.
- 3
Install the KDS app on each screen
Sign in to the NUA KDS app on each kitchen tablet or screen and select its assigned station.
- 4
Set ticket aging thresholds
Choose the wait time (in minutes) at which a ticket turns amber, then red, under Kitchen → Aging Alerts.
- 5
Configure the expo/pass view
Turn on the pass-level summary view so expo can see every station's status for a table at once.
- 6
Run a live test ticket
Fire a test order from the POS and confirm it appears on the correct station screen(s) within a second or two.
Tips
- Keep aging thresholds honest to your kitchen's real pace — alerts that fire too early get ignored.
- Use the pass view during service; use single-station view during prep or quieter periods.
- Bump a ticket only when the item physically leaves the pass, not when it's plated — that's what keeps course timing accurate.
Troubleshooting
- A ticket isn't reaching a station screen.Confirm the item is mapped to that station under Kitchen → Stations, and that the screen is signed in and online.
- Tickets are arriving out of order.Check the venue's course-timing rules under Kitchen → Course Sequencing; items may be set to fire independently rather than staged.
Related modules
Still stuck on kitchen display system setup?
Email us directly, a real person on the team replies.