HomeVoice POS
Documentation · AIOrder hands-free, without touching a screen.
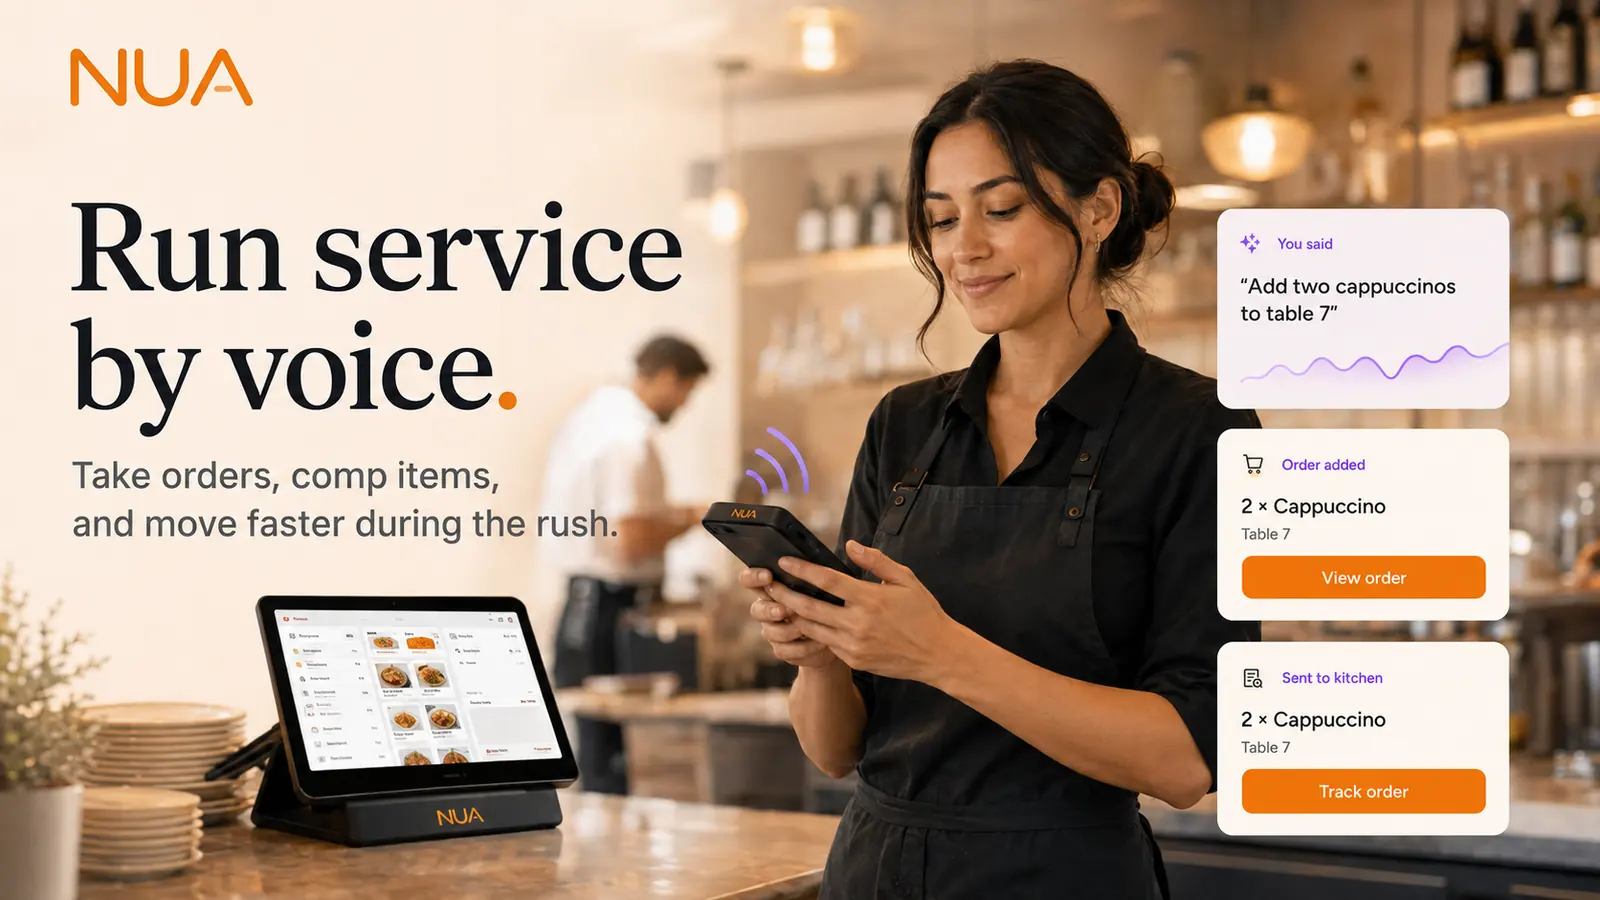
Natural-language ordering that turns spoken orders straight into POS tickets.
Voice POS setup guide
Estimated setup time: 10–15 min
Before you start
- POS set up with a finished menu import
- A supported headset or the in-app microphone on a counter device
Setup steps
- 1
Enable Voice POS
Turn it on under AI Agent → Voice for the venue.
- 2
Pair a microphone or headset
Connect a supported headset per station, or use the built-in mic on a counter tablet for lower-volume use.
- 3
Review menu phrasing
Check Voice → Phrasing for any items NUA flags as ambiguous (e.g. very similar names) and add spoken aliases where useful.
- 4
Set confirmation behaviour
Choose whether Voice POS reads back each order line before confirming, or only flags low-confidence items — under Voice → Settings.
- 5
Train staff on the flow
Run a few practice orders with each staff member so they're comfortable with pacing and corrections before service.
- 6
Go live during a quiet shift first
Enable it for one shift before a full rush, so any menu phrasing gaps get caught early.
Tips
- Add spoken aliases for anything with a nickname on the floor ("the usual", local dish names) — accuracy jumps once these are mapped.
- Low-confidence items are flagged, not silently guessed — a quick confirm tap keeps orders accurate without slowing things down.
- Voice POS and the standard touch POS work side by side; staff can switch freely mid-shift.
Troubleshooting
- An item is consistently misheard.Add a spoken alias for it under Voice → Phrasing — this is the single biggest accuracy fix available.
- Voice orders aren't appearing on the Kitchen Display.Confirm KDS station mapping is correct under Kitchen → Stations; Voice POS routes through the same mapping as touch orders.
Related modules
Still stuck on voice pos setup?
Email us directly, a real person on the team replies.